Do you need to butter every phyllo layer?” Ever wondered why some pastry chefs brush butter between every phyllo sheet, while others take a more relaxed approach? The secret to a perfect, crispy pastry lies in understanding how buttering impacts the layers and enhances the texture.
Phyllo dough is a delicate canvas that demands precision. Its thin sheets can transform into a stunning, crisp masterpiece with the right technique. The number of layers and how you butter them depends on your recipe and desired texture.
For country-style phyllo, buttering every layer is essential for a flaky texture. With thinner sheets, buttering every other layer can create a lighter, crispier pastry. Both approaches can result in a deliciously crisp and flavorful outcome.
Professional bakers focus on more than just layering—they understand the dough’s unique traits and treat it with respect. This guide will uncover the secrets to mastering phyllo dough like a pro, starting with the buttering technique.
Understanding Phyllo Dough and Its Characteristics
Phyllo dough, often spelled as filo, is a delicate pastry ingredient. It might seem mysterious to home cooks. The answer to whether there’s a difference between filo and phyllo is simple. They are exactly the same thing, just different spellings of the same word.

This ultra-thin pastry sheet comes from Turkish cuisine. It has become a staple in Mediterranean and Middle Eastern cooking. Its unique characteristics make it incredibly versatile for both sweet and savory dishes.
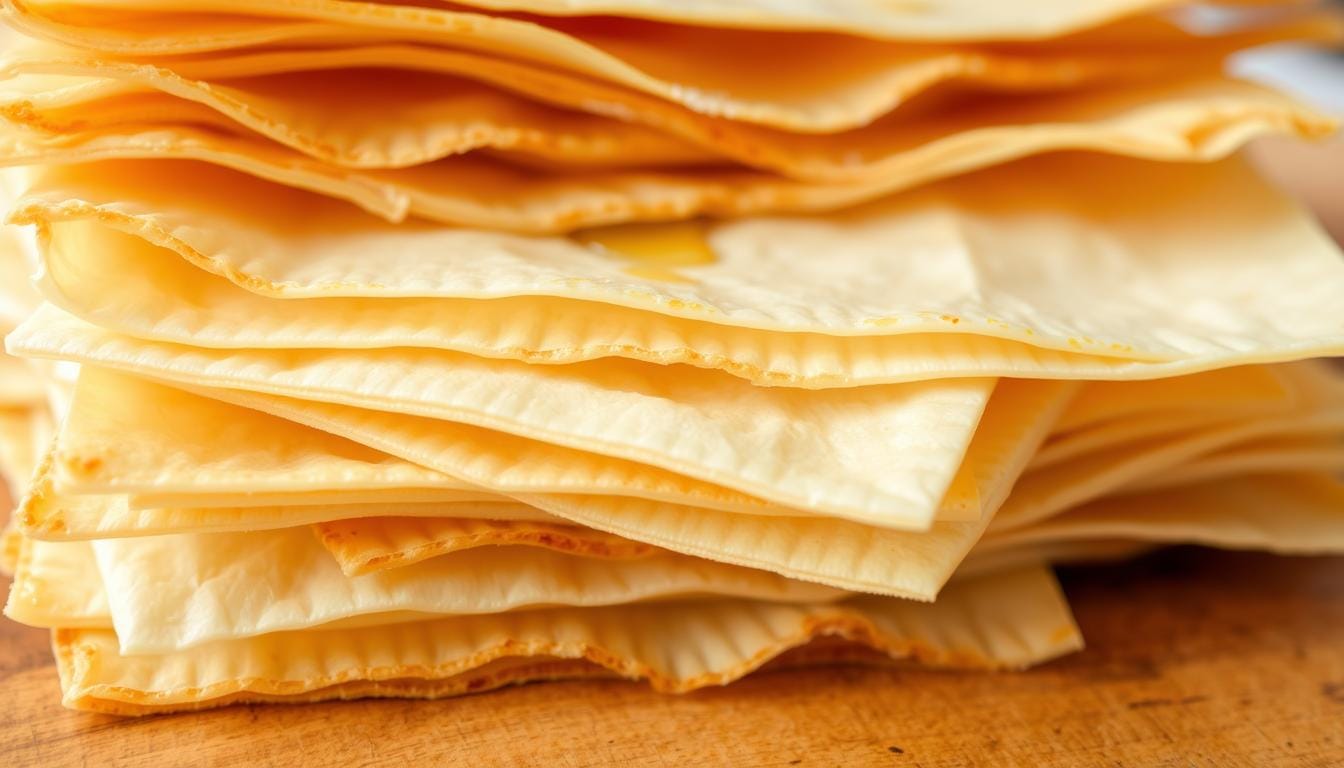
Different Thicknesses of Phyllo
Phyllo dough comes in various thicknesses, typically labeled as:
- #4: The thinnest option, perfect for delicate pastries
- #7: A versatile medium thickness ideal for most recipes
- #10: The thickest variety, great for heartier dishes
What Makes Phyllo Unique
The magic of phyllo lies in its ingredients and preparation. It’s made from flour, water, vinegar, oil, and salt. Traditional phyllo is stretched so thin that it becomes nearly transparent. This allows for crispy, layered textures in cooking.
Common Uses in Cooking
You’ll find phyllo dough starring in numerous recipes. From classic baklava to savory spanakopita. Its ability to create crisp, flaky layers makes it a favorite among bakers and chefs. They use it to add texture and elegance to their dishes.
The Essential Role of Fat in Phyllo Pastries

Fat is key in making phyllo dough flaky and delicious. The choice between butter and olive oil depends on what you want to achieve and your taste preferences.
Fat turns phyllo sheets into crispy, golden pastries. Usually, bakers use 1 tablespoon of butter for every layer of phyllo. This is because the sheets soak up fat, needing a lot to get the right texture.
- Unsalted butter is traditionally preferred for better flavor control
- European butters with higher butterfat content create crispier results
- Extra-virgin olive oil can be a delicious alternative
“The key to perfect phyllo is in the fat – it’s what creates those magical, crisp layers.” – Professional Pastry Chef
Choosing between butter and olive oil depends on your recipe’s taste. Butter gives a rich, classic flavor, while olive oil adds a Mediterranean touch. Both can make your phyllo pastries flaky and tasty.
Pro tip: Brush fat between layers gently. Phyllo dough is very thin, about 1/16 of an inch. A light touch helps keep the pastry intact and crispy.
Do You Have to Butter Each Layer of Phyllo?
Phyllo dough is a delicate pastry that needs careful handling. This is key to getting that perfect crispy texture. Knowing how to keep phyllo shells from getting soggy is essential for tasty dishes.
You don’t have to butter every single layer. But, a gentle brush of fat between layers makes a big difference. It’s like creating a delicious protective barrier that keeps phyllo shells crisp and flavorful.
Amount of Butter Needed Per Layer
The secret to perfect phyllo is using just the right amount of fat. You want enough to:
- Separate layers
- Create a barrier against moisture
- Promote even browning
Alternative Fats to Use
Not a fan of butter? No problem! You can use other fats to keep phyllo shells from getting soggy:
- Extra-virgin olive oil
- Vegetable oil
- Clarified butter
- Cooking spray (in a pinch)
Impact on Final Texture
The fat you choose affects your phyllo’s texture. A light, consistent brush creates flaky layers that crumble beautifully. Without fat, your phyllo might turn tough or bland.
“Every layer of phyllo is an opportunity to add flavor and texture.” – Pastry Chef Wisdom
Pro tip: Use a soft pastry brush and apply fat sparingly. Your goal is to coat, not soak, each delicate phyllo sheet.
Proper Defrosting Techniques for Phyllo Dough
Defrosting phyllo dough needs patience and careful steps. It’s as important as knowing if you should soak halibut before cooking. Getting your ingredients ready is key to success in the kitchen.
Phyllo dough must thaw slowly to keep its delicate layers intact. Quick thawing can make the dough soggy and unusable.
“Patience is the key to perfect phyllo dough preparation.”
Recommended Defrosting Steps
- Keep phyllo dough sealed in its original plastic packaging
- Place package in refrigerator for 8-24 hours
- Remove from refrigerator and let sit at room temperature for 1 hour
- Open package carefully to prevent moisture loss
The best way to thaw phyllo dough is slowly and carefully. Microwaving or quick thawing will make the sheets gummy and useless.
Important Defrosting Tips
- Never refreeze thawed phyllo dough
- Use a lightly misted towel to maintain moisture
- Remove only the amount of sheets you need
- Work quickly once sheets are at room temperature
| Defrosting Stage | Duration | Temperature |
|---|---|---|
| Refrigerator Thawing | 8-24 hours | Below 40°F |
| Room Temperature Rest | 1 hour | 68-72°F |
Pro tip: Sprinkle a light layer of cornstarch between sheets to prevent sticking during the defrosting process.
Best Practices for Handling Phyllo Sheets
Working with phyllo dough can change your cooking game, like with a halibut and spinach wrapped in filo recipe. It’s all about knowing how to handle these thin sheets.
Phyllo dough needs a soft touch and careful steps. Chefs say the right handling is key to success.
Preparing Your Work Surface
Make a great space for phyllo by following these tips:
- Clear a large, clean workspace
- Ensure your surface is smooth and dry
- Have all ingredients for your halibut and spinach wrapped in filo recipe ready beforehand
- Keep a damp kitchen towel nearby to cover unused sheets
Temperature Considerations
Temperature is important for phyllo dough:
- Thaw phyllo dough in the refrigerator for approximately 8 hours
- Allow an additional 1 hour at room temperature before use
- Keep the unopened package at room temperature before opening
Essential Tools for Phyllo Success
Get these tools for easy phyllo prep:
- Soft pastry brush for gentle butter application
- Waxed paper
- Damp kitchen towel
- Unsalted butter (preferably high butterfat content)
“The secret to perfect phyllo is patience and gentle handling.” – Professional Pastry Chef
Phyllo dough is forgiving. Small tears can be fixed, and with practice, you’ll make amazing dishes.
Preventing Phyllo from Drying Out While Working
Working with phyllo dough needs careful handling. Knowing how many layers to use starts with keeping them moist. Dry phyllo can crumble and ruin your dish.
Here are key tips to stop your phyllo from becoming brittle:
- Cover unused phyllo sheets with a slightly damp towel
- Use plastic wrap as an alternative covering method
- Work quickly to minimize exposure to air
- Keep room temperature consistent
“The key to perfect phyllo is moisture control” – Professional Pastry Chefs
When figuring out how many layers of phyllo to use, remember most recipes suggest 4-5 layers. Keeping them moist makes each layer flexible and easy to handle.
| Covering Method | Effectiveness | Recommended Time |
|---|---|---|
| Damp Kitchen Towel | High | 15-20 minutes |
| Plastic Wrap | Medium | 10-15 minutes |
Pro tip: A light sprinkle of cornstarch between layers can prevent sticking without losing moisture. Always handle phyllo with care and patience.
Butter vs Olive Oil: Choosing the Right Fat
Choosing the right fat for phyllo dough is key to a great dish. Should you use butter or olive oil? Let’s look at what matters most for your recipe.
Flavor Profiles Matter
The fat you pick changes your dish’s taste. Unsalted butter gives a rich, golden color and creamy taste. Extra-virgin olive oil adds a Mediterranean flavor, great for both savory and sweet dishes.
- Butter brings a classic, indulgent taste
- Olive oil introduces a more robust, fruity note
- Both fats create a crispy phyllo texture
Temperature Considerations
The fat you choose affects cooking temperatures and browning. Butter has a lower smoke point than olive oil. So, you need to watch your baking closely.
| Fat Type | Smoke Point | Recommended Baking Temperature |
|---|---|---|
| Butter | 300-350°F | 350-400°F |
| Olive Oil | 375-470°F | 400-425°F |
When choosing between butter and olive oil for phyllo dough, think about your recipe. Butter is good for delicate, light pastries. Olive oil is perfect for Mediterranean dishes.
Pro tip: For the crispiest phyllo, brush each layer generously with your chosen fat, ensuring even coverage.
Storage Tips for Unused Phyllo Dough
Proper storage is key when working with phyllo dough. It keeps the dough’s delicate texture and quality intact. Many wonder if there’s a difference between filo and phyllo. But, rest assured, they are the same, and storage methods are the same too.
- Refrigeration recommendations:
- Unopened packages last up to 4 weeks
- Opened packages should be used within 3 days
- Freezing guidelines:
- Can be frozen for up to 3 months
- Wrap tightly in plastic wrap and foil
Important storage tips:
- Always keep phyllo dough sealed
- Use refrigeration temperature around 40°F
- Thaw slowly in the refrigerator for 24 hours
- Never refreeze thawed dough
“Proper storage ensures your phyllo remains delicate and ready for your next culinary creation.”
Follow these expert storage tips to make the most of your phyllo dough. With careful handling, you’ll always have this versatile pastry sheet ready for your favorite recipes.
Common Mistakes to Avoid When Working with Phyllo: Do You Need to Butter Every Phyllo Layer?
Working with phyllo dough can be tricky. But knowing common pitfalls helps you make perfect pastries every time. It’s key to keep phyllo shells crisp and delicious.
Here are the most critical mistakes to avoid when handling phyllo dough:
- Rushing the defrosting process
- Neglecting to cover sheets with a damp towel
- Using insufficient fat between layers
- Exposing sheets to air for too long
To prevent soggy phyllo shells, pay attention to these key techniques:
- Always thaw phyllo dough slowly in the refrigerator
- Keep sheets covered with a slightly damp cloth
- Brush generous amounts of melted butter between layers
- Work quickly once the package is opened
“Phyllo dough is delicate – treat it with care, and it will reward you with incredible texture.” – Professional Pastry Chef
The top brands like Kontos and Athens say to handle phyllo sheets quickly. Each sheet needs careful attention to keep its delicate structure.
| Mistake | Consequence | Solution |
|---|---|---|
| Dry Sheets | Cracking and Breakage | Cover with Damp Towel |
| Insufficient Butter | Soggy Texture | Brush Each Layer Generously |
| Improper Thawing | Uneven Texture | Refrigerate Overnight |
By understanding these techniques, you’ll turn your phyllo dishes into culinary masterpieces.
Troubleshooting Phyllo Dough Issues: Do You Need to Butter Every Phyllo Layer?
Working with phyllo dough can be tricky, but don’t worry. Even experienced home cooks face challenges. Knowing how to solve common problems will help you make stunning dishes with confidence.
Before we dive into solutions, remember that preparation is key. Just as you might wonder if you should soak halibut before cooking, similar care is needed with phyllo dough.
Managing Tears and Breaks
Phyllo sheets are fragile and can easily tear. Here are strategies to address this issue:
- Keep remaining sheets covered with a damp cloth
- Work quickly and gently
- Use small patches of extra phyllo to cover minor tears
- Layer strategically to hide imperfections
Reviving Dried-Out Sheets
When phyllo becomes too dry, you can try a few rescue techniques:
- Lightly brush with melted butter or olive oil
- Cover with a slightly damp towel for a few minutes
- Work in a humid environment
Prevention is the best approach. Store phyllo properly and work efficiently to keep its delicate texture.
“Patience and gentle handling are the secret ingredients to perfect phyllo pastry.” – Professional Pastry Chef
| Issue | Solution |
|---|---|
| Small Tears | Patch with extra phyllo sheet |
| Dry Sheets | Lightly moisten with cloth |
| Large Breaks | Start with new sheet |
By mastering these techniques, you’ll turn phyllo disasters into culinary masterpieces.
Conclusion
Phyllo dough is a gateway to endless culinary adventures. It can turn simple ingredients into amazing meals. Whether you’re making a halibut and spinach dish or trying baklava, remember to be patient and practice.
Learning about phyllo, from its thickness to handling, will boost your cooking. The layers of a filo recipe need care, but the outcome is worth it. Each sheet, brushed with butter or oil, is a blank canvas for your creativity.
Now, you can make dishes that look like they came from a restaurant. From halibut and spinach to Mediterranean pastries, you have the skills to impress. Take on the challenge, trust yourself, and let your creativity show in every flaky, golden layer.
FAQ
Q: Is there a difference between filo and phyllo?
A: No, filo and phyllo are the same. They are different spellings for the same thin pastry dough. This dough is used in many Mediterranean and Middle Eastern dishes. It creates flaky, layered pastries.
Q: How many layers of phyllo dough should I use?
A: The number of layers varies by recipe. Usually, it’s between 4 to 10 layers. For home recipes, 5-7 layers are common. Spanakopita might use fewer layers, while baklava can have up to 10-12 layers.
Q: Do I have to butter each layer of phyllo dough?
A: Buttering each layer is not required but greatly improves the pastry. It makes the dough flaky and crisp. Use a light touch with a pastry brush to avoid making it soggy.
Q: Is it better to use butter or olive oil for phyllo dough?
A: Both butter and olive oil have their benefits. Butter gives a rich flavor and golden color. Olive oil is lighter and noutritious. Choose based on your recipe and taste preferences.
Q: How do you keep phyllo shells from getting soggy?
A: To avoid soggy shells, follow these tips:
– Brush each layer lightly with butter or oil
– Avoid overfilling
– Bake at a high temperature (around 375-400°F)
– Let the pastry cool slightly before serving
– Don’t cover the pastry immediately after baking, as this can trap moisture
Q: How should I store unused phyllo dough?
A: Store unopened phyllo dough in the refrigerator for up to 2 weeks, or in the freezer for up to 3 months. Once opened, wrap unused sheets tightly in plastic wrap and store in the refrigerator. Use within a few days and always keep the dough covered with a damp towel while working to prevent drying out.
Q: What’s the best way to defrost frozen phyllo dough?
A: Defrost phyllo dough slowly in the refrigerator overnight. Remove it from the freezer and let it thaw gradually in its original packaging. Once thawed, bring to room temperature before opening to prevent condensation. Never microwave or rush the defrosting process, as this can damage the delicate sheets.